Sometime in the late fall of 2022, I made a number of new drawings and knew immediately that I wanted to begin a series of large paintings for them. The last large painting, Migration, was begun by having a local commercial printer print my drawing on a piece of unstretched canvas for me which I would then attach to stretcher bars. I stapled the canvas to the strips as I had always done before— starting in the middle of the bar and working to the ends and finishing up at the corners.
Often, I’d still end up with a canvas that wasn’t as tight as it should be. Even after adding the corner keys. I’ve got strong hands so I knew it wasn’t a lack of muscle.
Researching to see if I was missing something, I found a great article on Golden Paints’ website for a better way to do this. You see, when the canvas is stapled from the middle it can flex the bars and stretch the canvas in the center too much and then it’s unevenly tight. This causes eventual stress fractures at the corners of the painting which will then have to be repaired by a restoration team 50 years hence.
Instead, the article lays out a much better way to stretch canvases starting at the corners. And so, I set out to use this method to see how it worked.
“But wait!” you say. “Won’t there be too much fabric left over in the middle? Won’t it be loose if I start at the corners and work to the middles?”
Nope. Contrary to what we were led to believe by every well-meaning art instructor who taught us how to stretch canvases from the middles, starting at the corners does not produce this effect. Let me show you the photos to allay your fears.
You’ll need a canvas and appropriately-sized stretcher strips, a heavy-duty stapler, canvas pliers, a tack hammer, and long thumbtacks.
Thumbtacks? Yes. The trick is to start at all 4 corners and set them first, then work your way around the canvas edge until you finish at the centers.

Thumbtacks securing the canvas in place all the way around. No extra loose fabric in the middle! And yes, I had my printer guy print my drawing on my canvas so I wouldn’t have to use a projecter and redraw it.
Complete placing thumbtacks all the way around in the canvas on the rail edge. I did this just using my hands and not the canvas pliers. I tapped them in gently with a tackhammer.
The canvas surface should start to feel firm but itsn’t really taut. The quarter bounce test is yet to come.
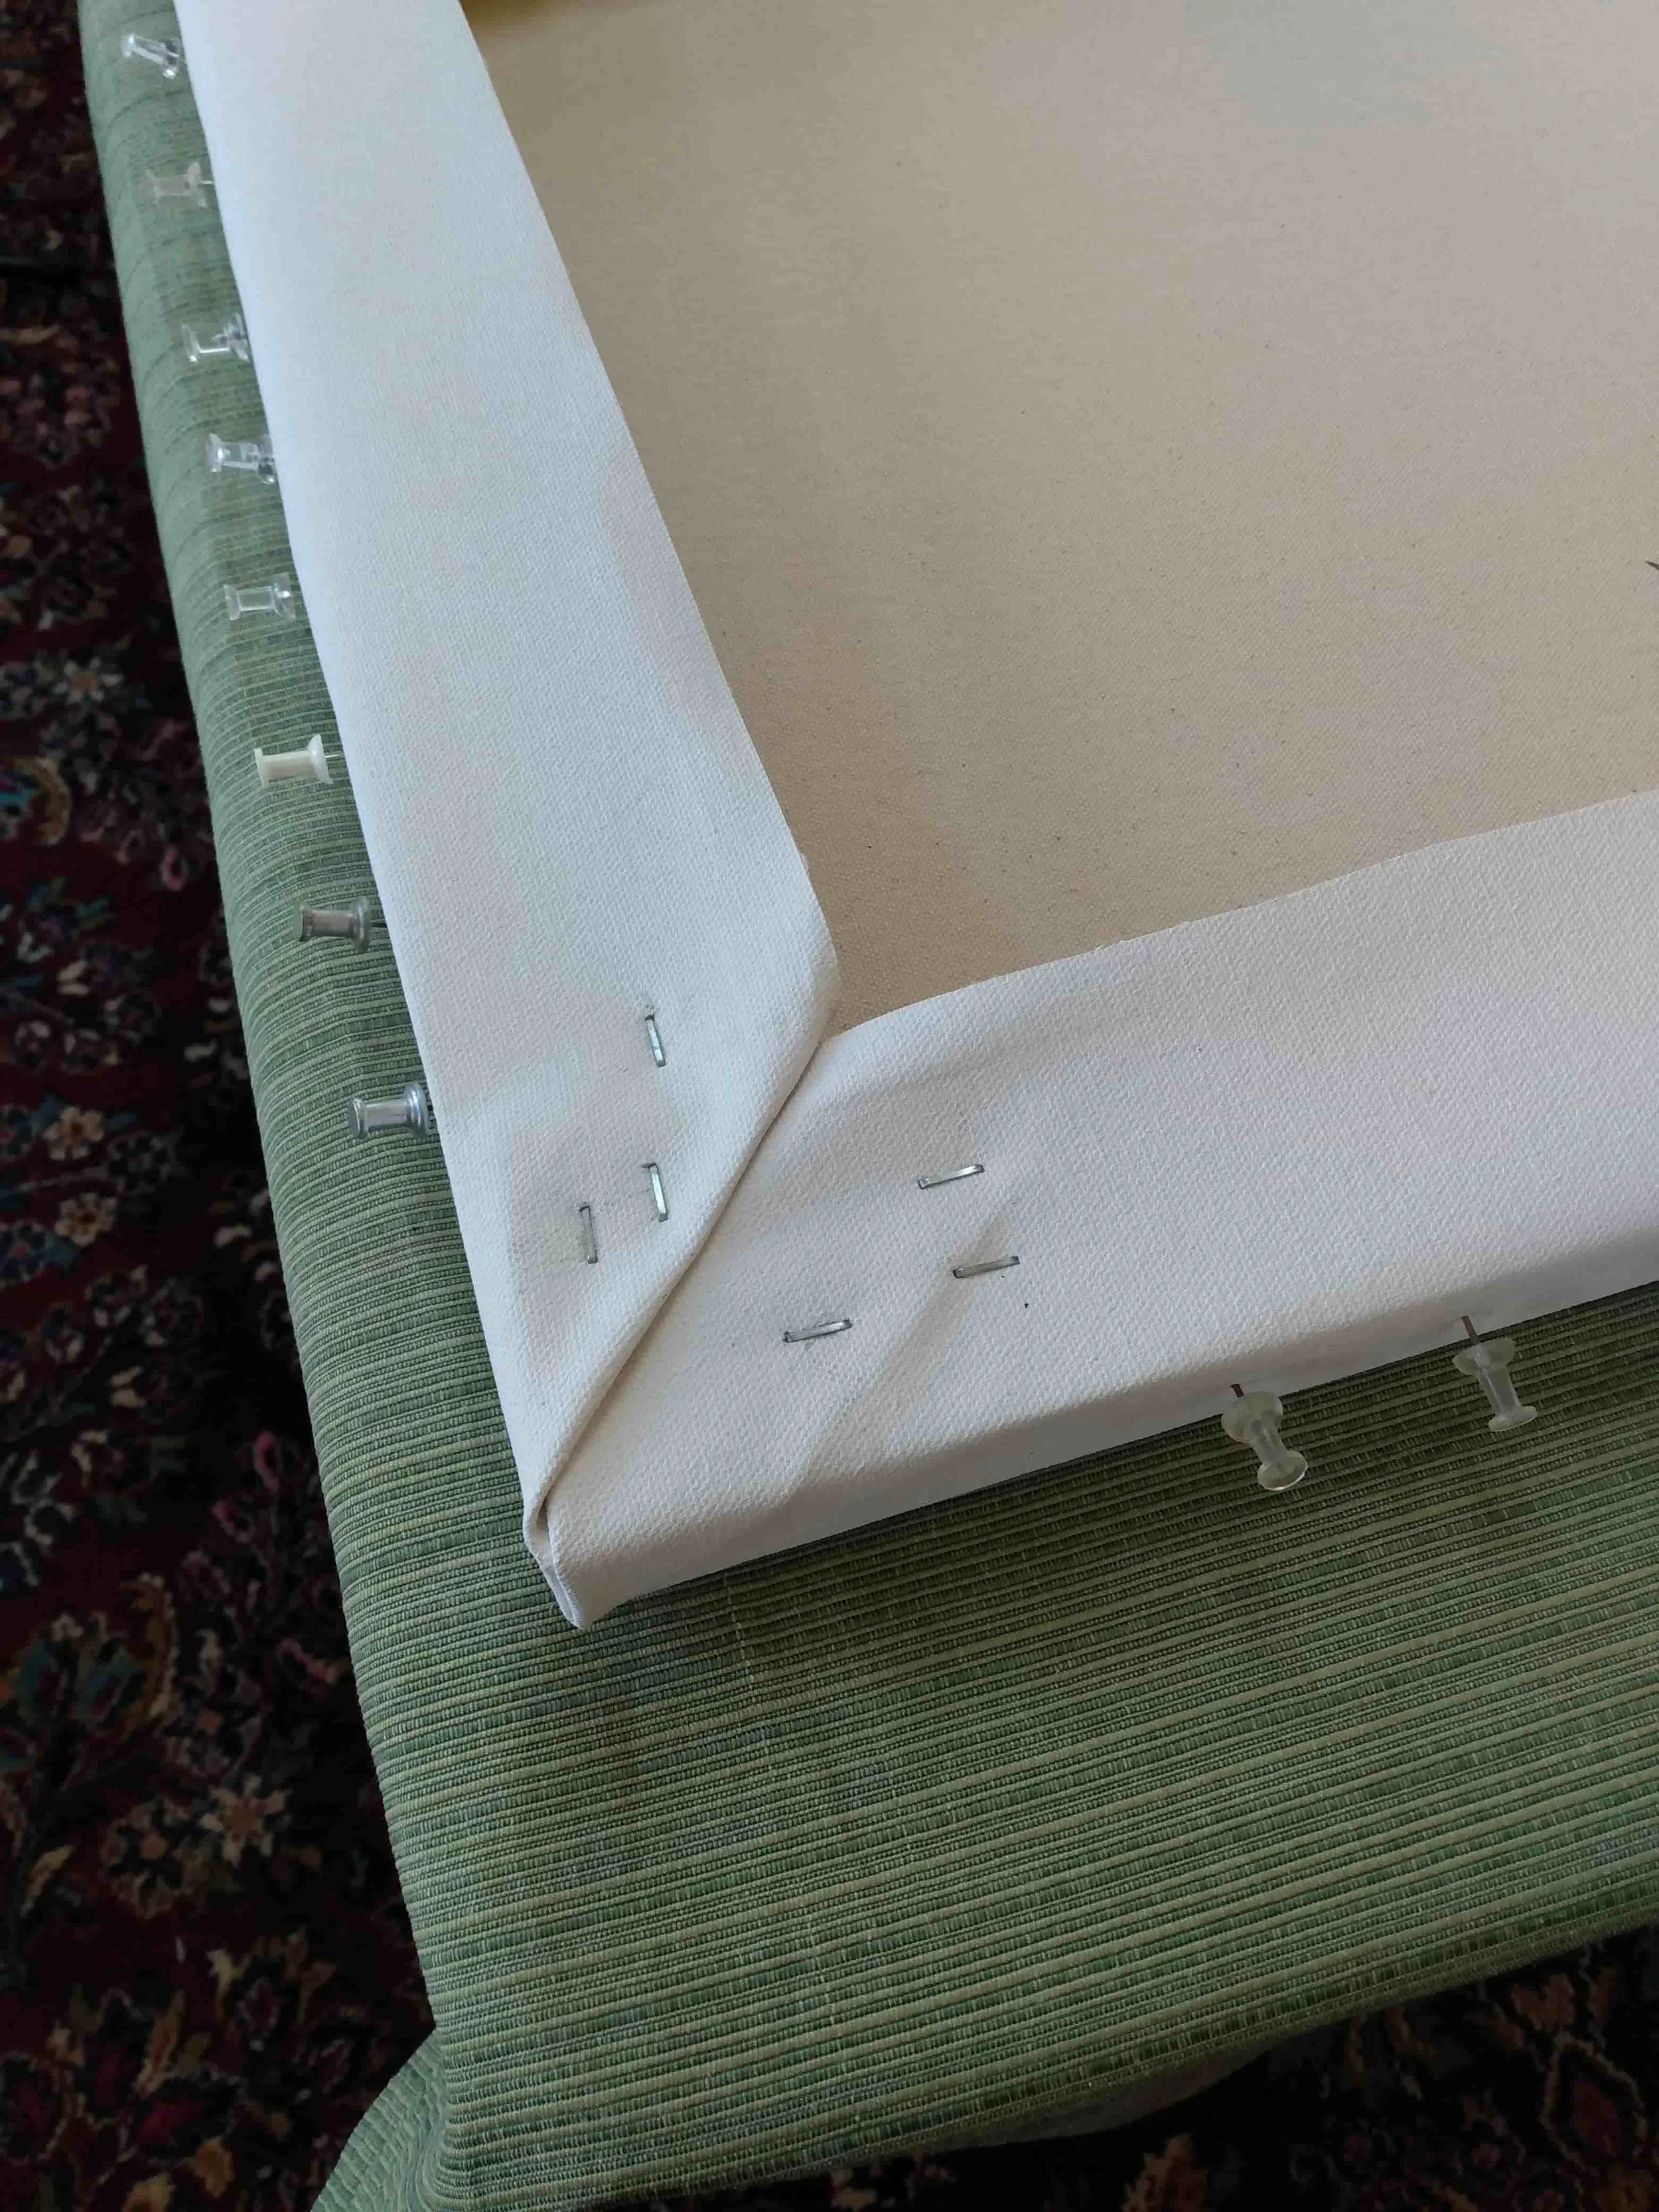
A cleanly folded corner will fit better into a frame or look good without one.
Turn your canvas over and finish the corners first with a good fold and staple. There are many great little 1-2 minute canvas corner folding tutorials on YouTube you can find.
From the corners, removing one or two thumbtacks at a time, continue to go around the canvas, gripping the fabric edge with the canvas pliers and stapling the tightened fabric to the stretcher bars. Do a few on each side and the rotate to the next side.
Here’s where your hands will get a real workout.

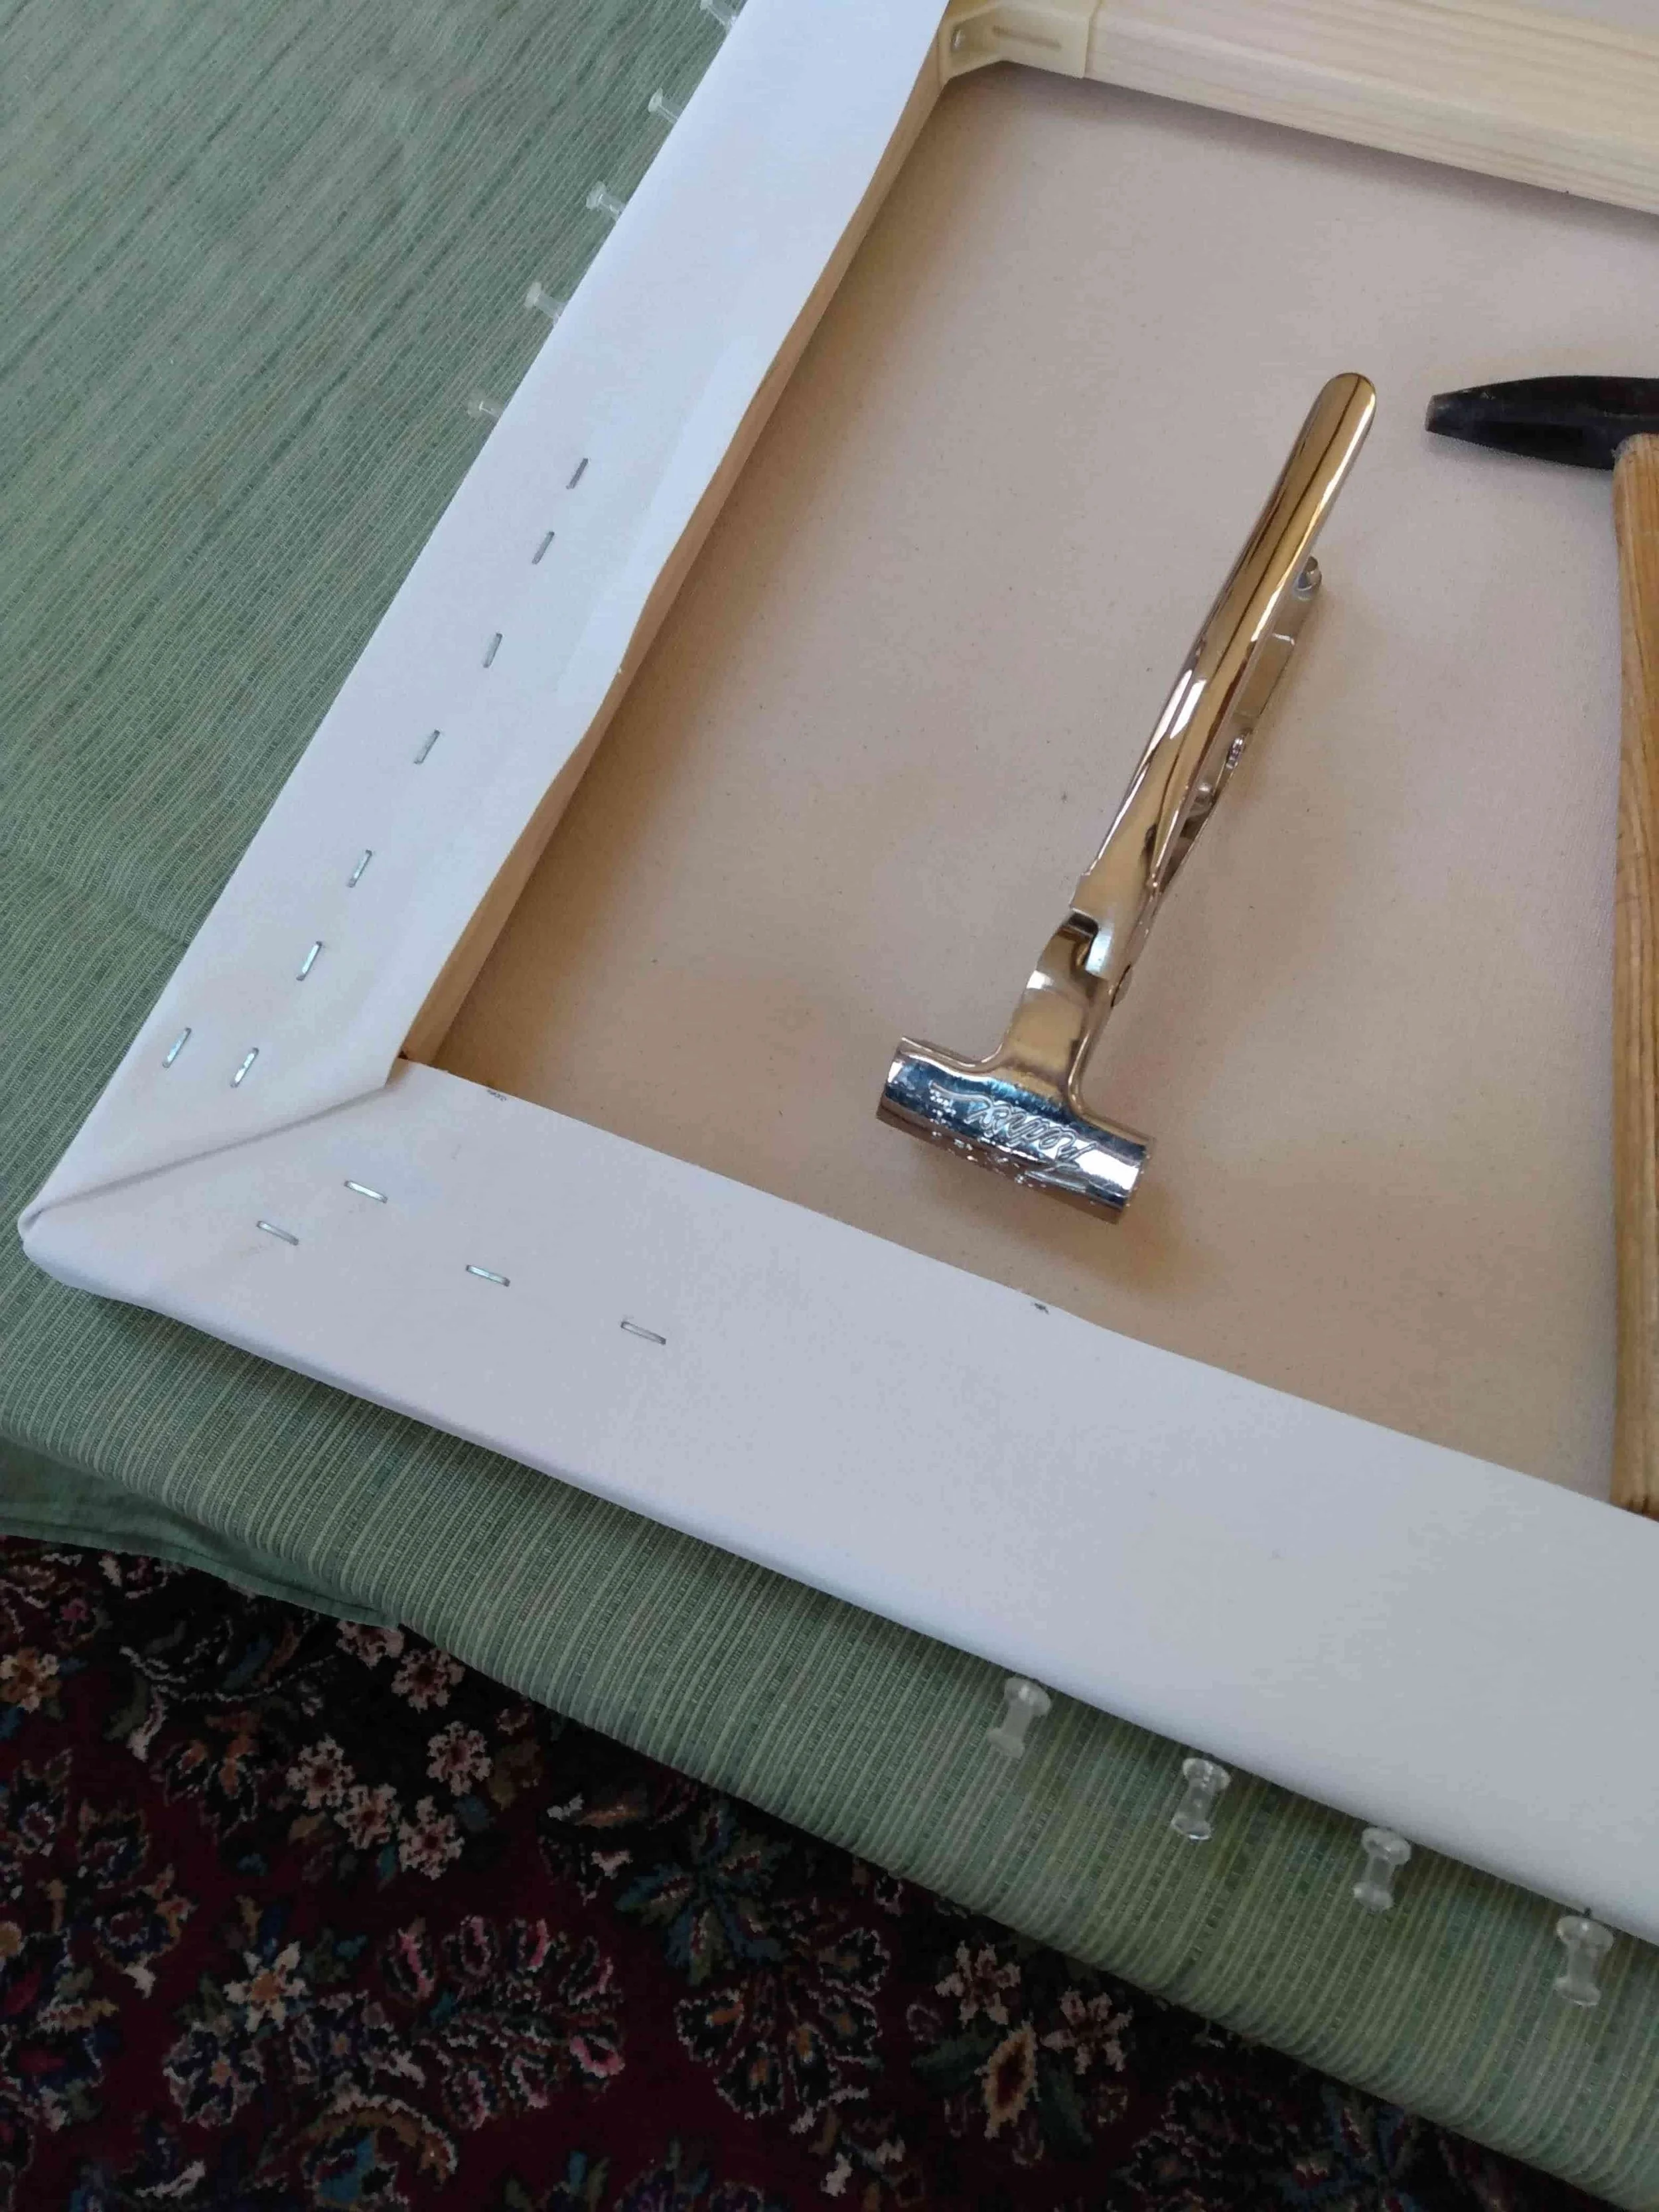
The finished stapling job.
The surface is nice and springy after the corner keys are added.
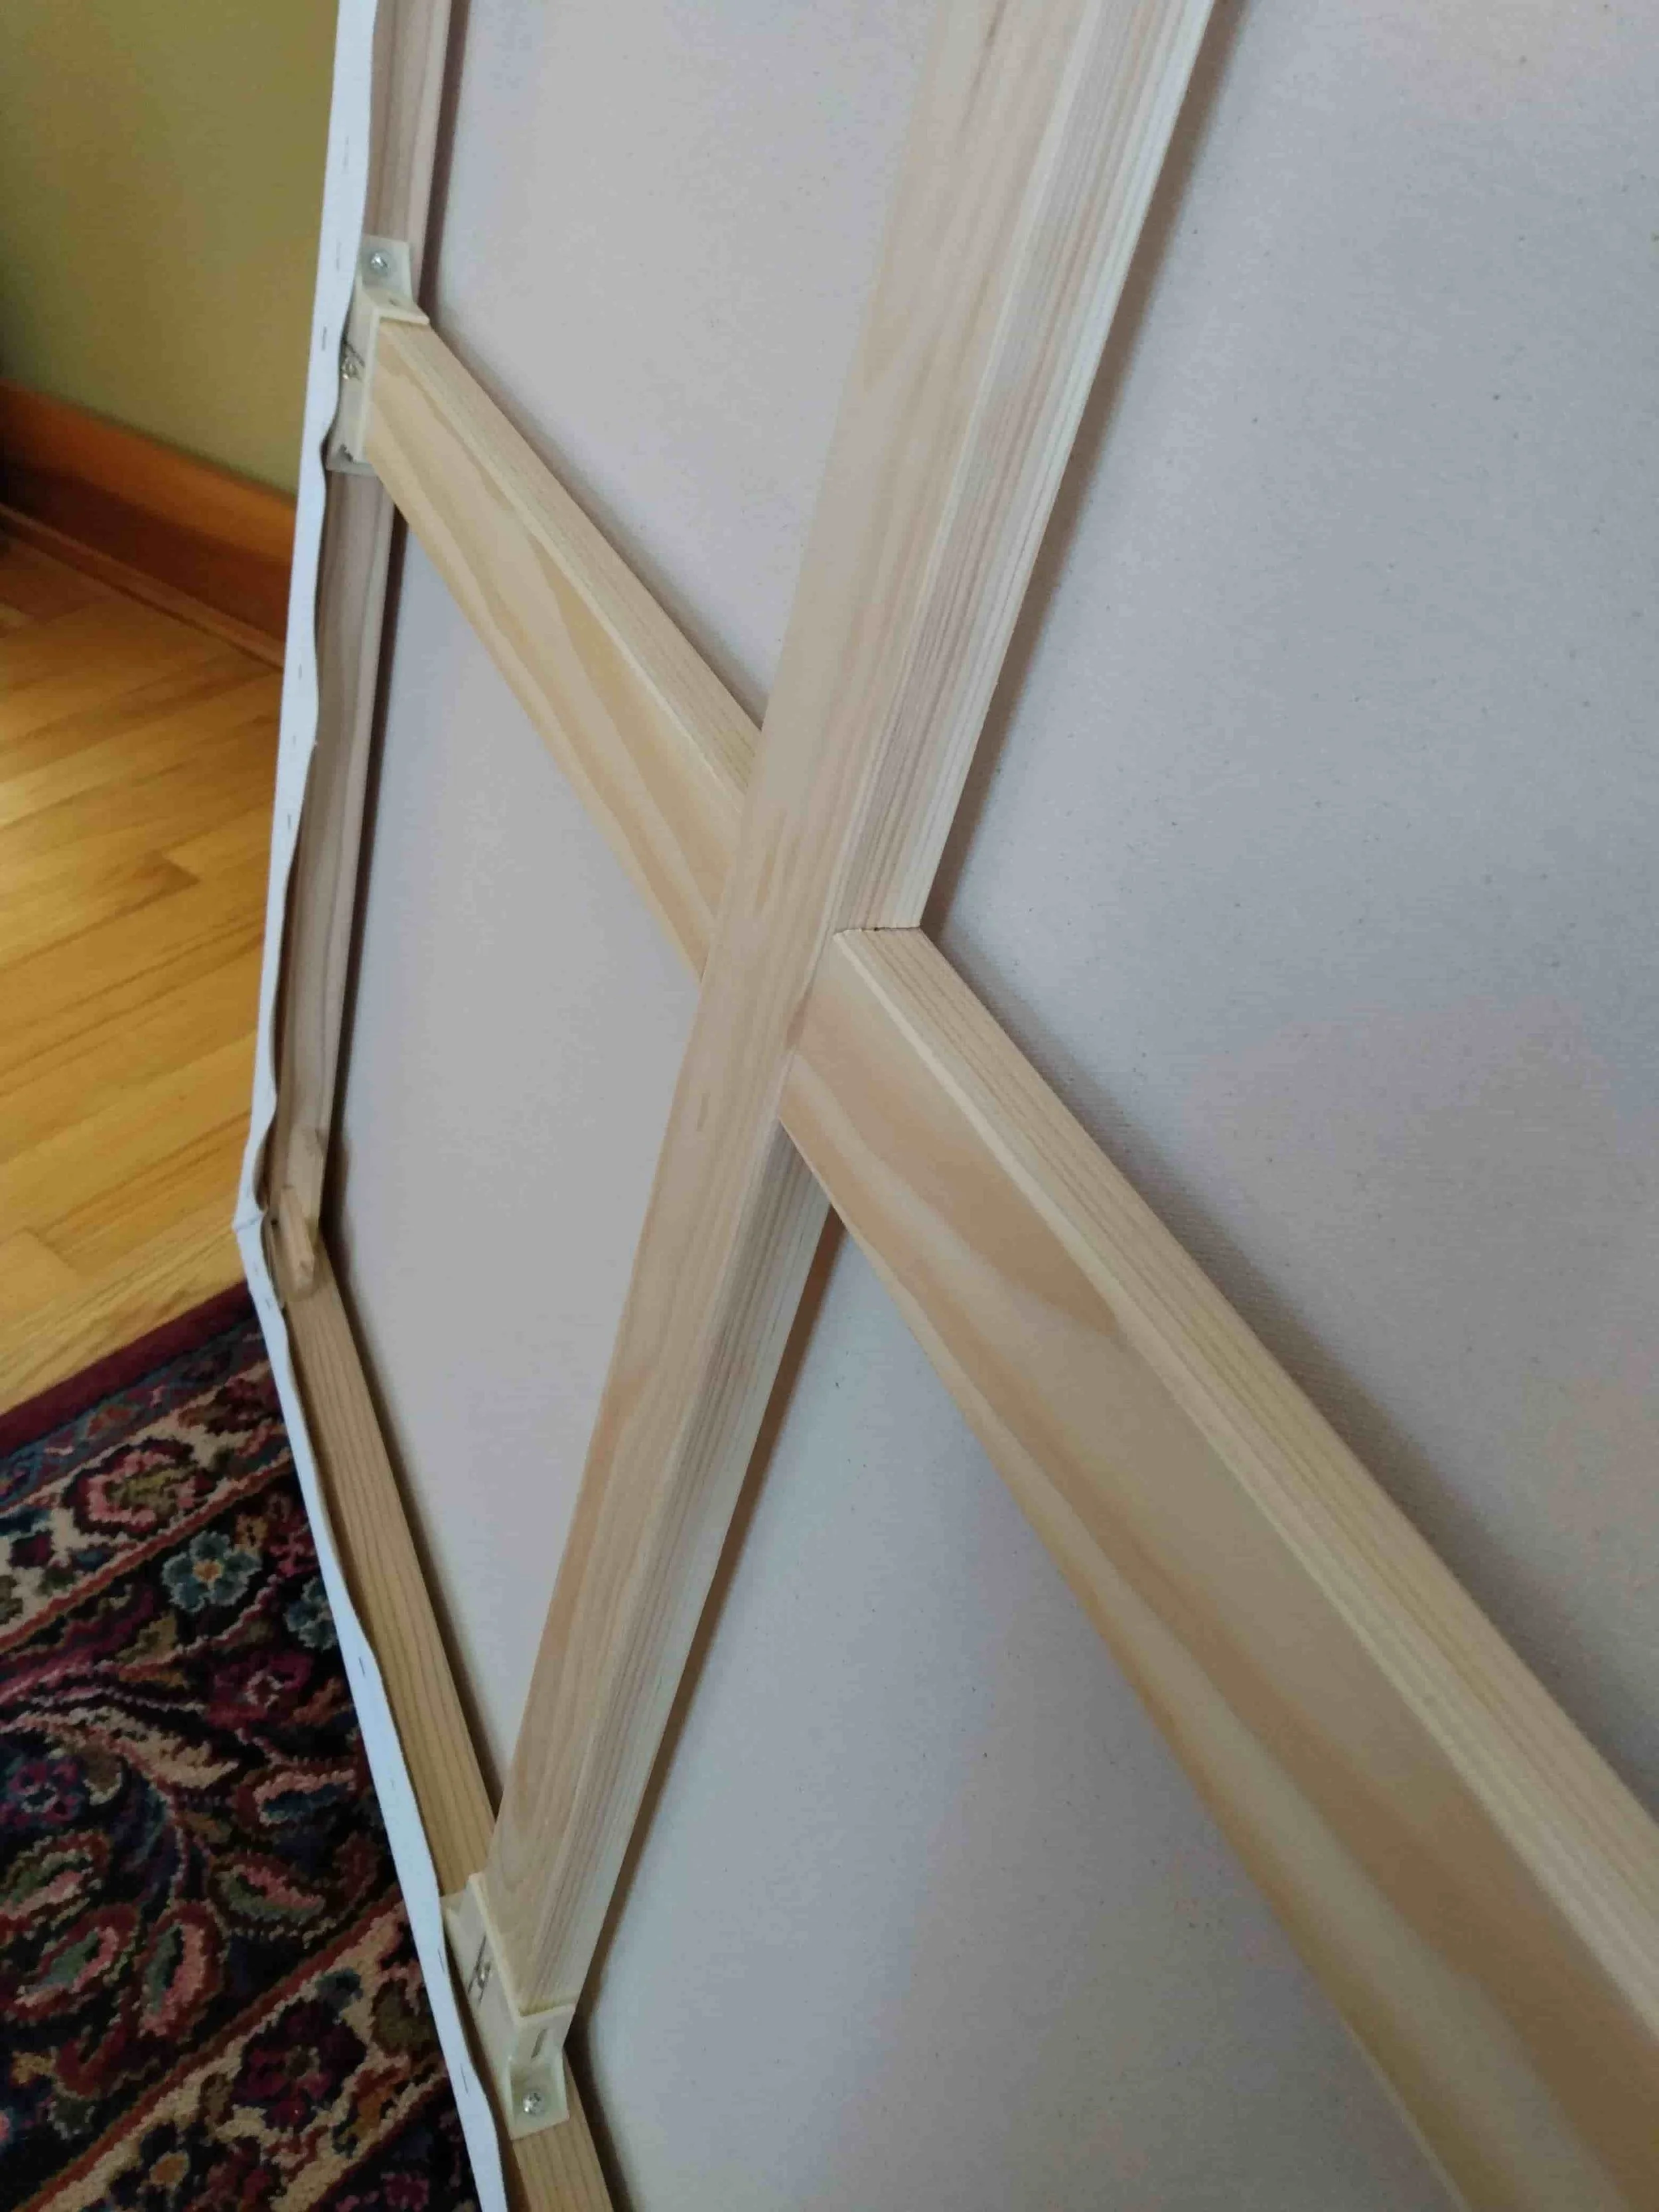
Don’t forget to add the keys in the corners to give it that extra bounce. Your canvas should float above and away from the stretcher bars and crossbraces and have a nice spring to it so your brushes will glide nicely.
Happy painting, Art Gnome. Hit me up if you have any questions— I’m happy to help!